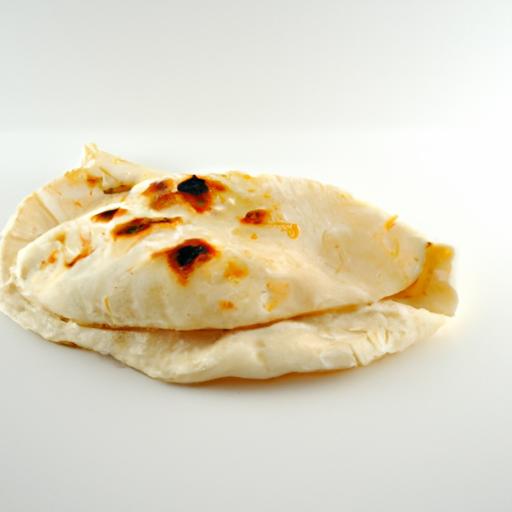
there’s somthing undeniably satisfying about tearing into a warm,fluffy pita bread fresh from the oven-a pocket of soft,pillowy goodness that holds endless possibilities.Whether you’re filling it wiht vibrant mediterranean flavors, dipping it into a rich hummus, or simply enjoying it with a drizzle of olive oil, perfect pita bread has a way of turning any meal into a celebration. But why settle for store-bought when making your own at home is surprisingly simple and incredibly rewarding? In this article, we’ll guide you through an easy homemade pita bread recipe that promises that iconic puff and tender crumb every time. Get ready to roll up your sleeves and bake your way to pita perfection-your taste buds will thank you!
Perfect Pita Bread starts with choosing the right flour-a critical step that transforms simple ingredients into those irresistibly soft and puffy pockets treasured across Middle Eastern and Mediterranean cuisines. The journey to that perfect pita begins in your pantry, where understanding flour’s role can elevate your homemade pitas from flat circles to pillows of deliciousness.
Choosing the Ideal Flour for Soft and Puffy Pitas
For the lightest, fluffiest pita pockets, opt for all-purpose flour or, even better, a blend of bread flour and all-purpose flour. Bread flour’s higher protein content (around 12-14%) strengthens the gluten network, encouraging a better rise and chewiness, while all-purpose flour keeps the crumb tender. Avoid whole wheat or heavy flours unless you desire a rustic texture, as their bran can inhibit the dough’s rise.
Using freshly sifted flour ensures your dough has the right aeration, helping it puff beautifully during baking. For those seeking a more traditional twist, some bakers incorporate a small percentage of semolina flour, adding delightful texture without compromising softness.
Prep and Cook Time
- Planning: 15 minutes
- Rising: 1 hour 30 minutes
- Cooking: 5-10 minutes
- Total: Approximately 1 hour 55 minutes
Yield
Makes 8 medium-sized pitas, perfect for a family meal or sharing with friends.
Difficulty Level
Easy to Medium – ideal for beginners wanting to master homemade breads with satisfying results.
ingredients
- 2 cups all-purpose flour, sifted
- 1 cup bread flour
- 1 packet (2 1/4 tsp) active dry yeast
- 1 1/4 cups warm water (110°F/43°C)
- 1 tbsp sugar
- 1 1/2 tsp salt
- 2 tbsp olive oil, plus extra for coating
Instructions
- Activate the yeast: In a small bowl, combine warm water, sugar, and yeast. Stir gently and let sit for 5-10 minutes,until foamy.This confirms the yeast is alive and ready to work.
- Mix the dry ingredients: in a large bowl, whisk together the all-purpose flour, bread flour, and salt. This ensures even distribution of salt, which controls yeast activity.
- Create the dough: Make a well in the center of the dry ingredients and pour in the yeast mixture and olive oil. Stir with a wooden spoon until a shaggy dough forms.
- Knead for strength: Transfer the dough to a lightly floured surface and knead for 8-10 minutes until smooth and elastic.The dough shoudl feel slightly tacky but not sticky. Use a bench scraper if needed to fold and turn.
- First rise: Lightly oil a large bowl, place the dough inside, and cover it with a clean towel or plastic wrap. Let rise in a warm, draft-free spot for 1 hour or until doubled in size.
- Divide and shape: Punch down the dough gently and turn it out onto a floured surface. Divide it into 8 equal pieces. Roll each piece into a smooth ball, then flatten gently with your palms into 6-inch discs. Let rest for 20 minutes, keeping covered to prevent drying out.
- Preheat your cooking surface: Heat a cast-iron skillet or heavy-bottomed pan over medium-high heat for 3-5 minutes. A hot pan is key for the pita’s signature puff.
- Cook the pitas: Place one pita dough disc into the hot skillet. Cook until bubbles form and the bottom is golden brown, about 1-2 minutes. Flip and cook another 1-2 minutes on the other side.The dough should puff, creating a pocket. Transfer cooked pita to a clean towel-cover to keep soft and warm.
- Repeat: Continue with remaining dough pieces, adjusting heat as necessary to prevent burning.
Tips for Success
- Warm water temperature: Crucial for yeast activation-too hot kills yeast,too cold inhibits growth.
- Kneading: Don’t rush this step.Well-kneaded dough develops gluten, creating the airy texture perfect for pitas.
- Resting the dough: The second rest after shaping allows the gluten to relax for easier stretching and puffing.
- Cooking heat: A skillet that’s hot enough encourages steam formation inside the dough, causing the miraculous puff.
- Storage: Wrap cooled pitas in foil or place in airtight containers. Reheat wrapped in foil or steamed lightly to restore softness.
Creative Serving Suggestions to Elevate Your Homemade Pita
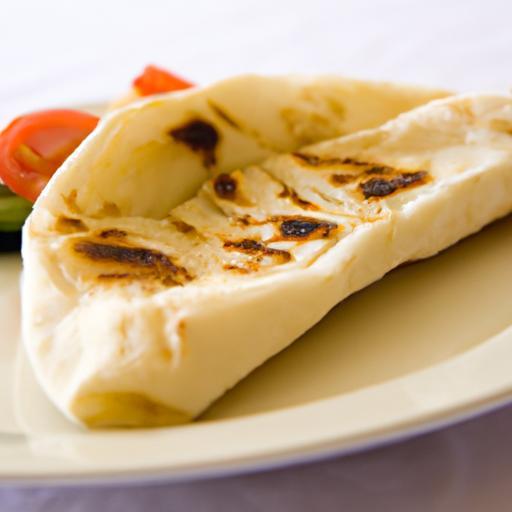
These perfect pita pockets are versatile canvases. Slice them open to create traditional sandwiches filled with vibrant falafel, creamy hummus, or zesty grilled vegetables. For a Mediterranean-inspired platter, serve warm pita wedges alongside a spread of baba ganoush, tabbouleh, and marinated olives, garnished with fresh parsley and a squeeze of lemon.
Turn your homemade pita into a fun mealtime activity by offering an array of dips like roasted red pepper dip or tzatziki. Lightly brushing pitas with garlic-infused olive oil before toasting adds irresistible aroma and flavor. For a sweet twist, try drizzling warmed pita with honey and cinnamon, paired with fresh fruit and yogurt.


| Nutrient | Per Serving |
|---|---|
| Calories | 150 |
| Protein | 5g |
| Carbohydrates | 28g |
| Fat | 3g |
for more tips on perfect home baking, explore our detailed Bread Baking Guide. To learn about the science behind gluten development in flour, check this King Arthur Baking resource.
Q&A
Q&A: Perfect Pita Bread – Easy Homemade Recipe You’ll love
Q1: What makes pita bread “perfect”?
A1: Perfect pita bread boasts a soft, pillowy texture with a beautiful pocket ready to be stuffed. it’s light, slightly chewy, with a subtle nutty flavor from the flour.That iconic puff is the hallmark of a flawless bake!
Q2: How difficult is it to make pita bread at home?
A2: Surprisingly easy! With just a few simple ingredients-flour, water, yeast, salt, and a touch of olive oil-you can whip up pitas in your own kitchen. The magic mostly happens during the baking, where high heat causes the dough to puff and form the pocket.
Q3: Can I use whole wheat flour for a healthier pita?
A3: Absolutely! Whole wheat pita offers a nuttier taste and extra fiber. Just keep in mind that whole wheat dough can be a bit denser and might need a bit more water or resting time to achieve a good puff.
Q4: What kind of flour works best?
A4: All-purpose flour is a great starting point and yields a soft, tender pita. For chewier pitas, bread flour is perfect thanks to its higher protein content. feel free to experiment for your favorite texture!
Q5: How can I ensure the pita bread develops a pocket?
A5: The key is rolling the dough evenly and baking at a high temperature (around 475°F/245°C). The intense heat makes the moisture inside the dough turn to steam rapidly, puffing up the bread and creating that lovely pocket.
Q6: Should I cover the dough while it rises?
A6: Yes, keeping the dough covered with a clean cloth or plastic wrap during rising keeps it moist and prevents a crust from forming, ensuring soft, pliable pita bread.
Q7: Can I freeze homemade pita bread?
A7: Definitely! Cool your baked pitas fully, then store them in an airtight bag in the freezer. To enjoy, just thaw at room temperature and warm briefly in a skillet or oven.
Q8: What are some tasty ways to enjoy homemade pita?
A8: Stuff them with grilled veggies, falafel, or your favorite hummus and fresh salad.They’re marvelous torn up as dippers with tzatziki or baba ganoush too. The possibilities are endless!
Q9: How long does homemade pita last?
A9: Fresh pita is best enjoyed within 2-3 days when stored in an airtight container at room temperature. For longer storage, freezing is your best friend.Q10: Can I make pita bread without yeast?
A10: Traditional pita relies on yeast for that airy texture and pocket. For a quick choice, you can try baking flatbreads using baking powder, but they won’t puff up the same way or have that classic pocket. Yeast is part of the pita’s charm!
Concluding Remarks
There you have it-the secret to perfect pita bread, right from your own kitchen. With simple ingredients and a little love,you can transform everyday flour and water into these delightful,pocketed pockets of joy. Whether you’re stuffing them with savory fillings, dipping them in your favorite sauces, or enjoying them fresh and warm, homemade pita adds a touch of magic to any meal. so roll up your sleeves, fire up your oven, and embrace the satisfying art of pita-making-you’ll wonder why you ever settled for store-bought. happy baking!